sunday, february 03, 2008
Dan’s modular paper icosahedron and dodecahedron
A few weeks ago, Aaron Straup Cope bookmarked the paper sculpture on the left. It’s part of a photoset of work by Richard Sweeney that includes the partial one on the right.
I showed these to my friend Daniel Walsh, a physics major in my college who enjoys polyhedra and making things out of paper. A few days later he’d busted out with his own small, beautiful versions:
![]()
![]()
![]()
Dan, on the right, has figured out how to blow spherical paper objects into the air in a way that suspends them for a few seconds as they rotate in place. Cody, on the left, is doing it wrong.
If you’d like to make your own icosahedron (the more elaborate one of those two), download this template (PDF) and print out ten copies of it. Here is what you do:
- Cut out one figure along the bold lines.
- Score all its curved dotted lines with a dead ballpoint pen or the tip of a lead-less mechanical pencil or something like that. Fold the tabs back and forth to make sure they’re flexible. Pinch gently along the scored curves to begin to form the curved module shape, with the dashes on the inside.
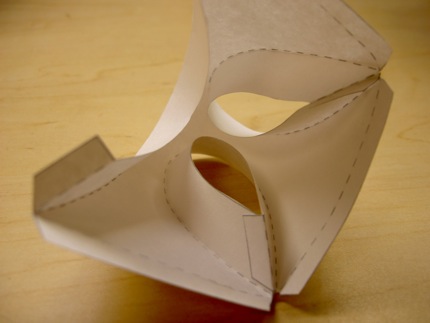
- Apply white glue or a glue stick to one of the module’s small tabs and connect it to its neighboring bit of paper, like this:

That one actually has two tabs connected already. Do that. Repeat for third tab. - Repeat steps 1-3 for the rest of the modules (twenty modules in total).
- Glue modules together on the large tabs. Be sure to have five modules around each corner, i.e. flowers always have five petals. When you have a few modules together, you can insert a pencil or straightened paperclip through the holes to push tabs with glue together to make sure they stick.
This may take a couple hours to complete. It is more fun if you do it with a friend! The last step is taking glamour pictures and showing them off.